I don’t think there is a faster way to build a web app than Firebase and Ember.
The awesomeness of Firebase’s real-time database, no server, no backend, instant deployment, hosting and user authentication makes it an incredibly productive choice.
Ember’s conventions and best practices and incredibly productive CLI makes it an excellent choice for your front-end. Let’s see how fast we can get a working app together.
Create a Firebase App
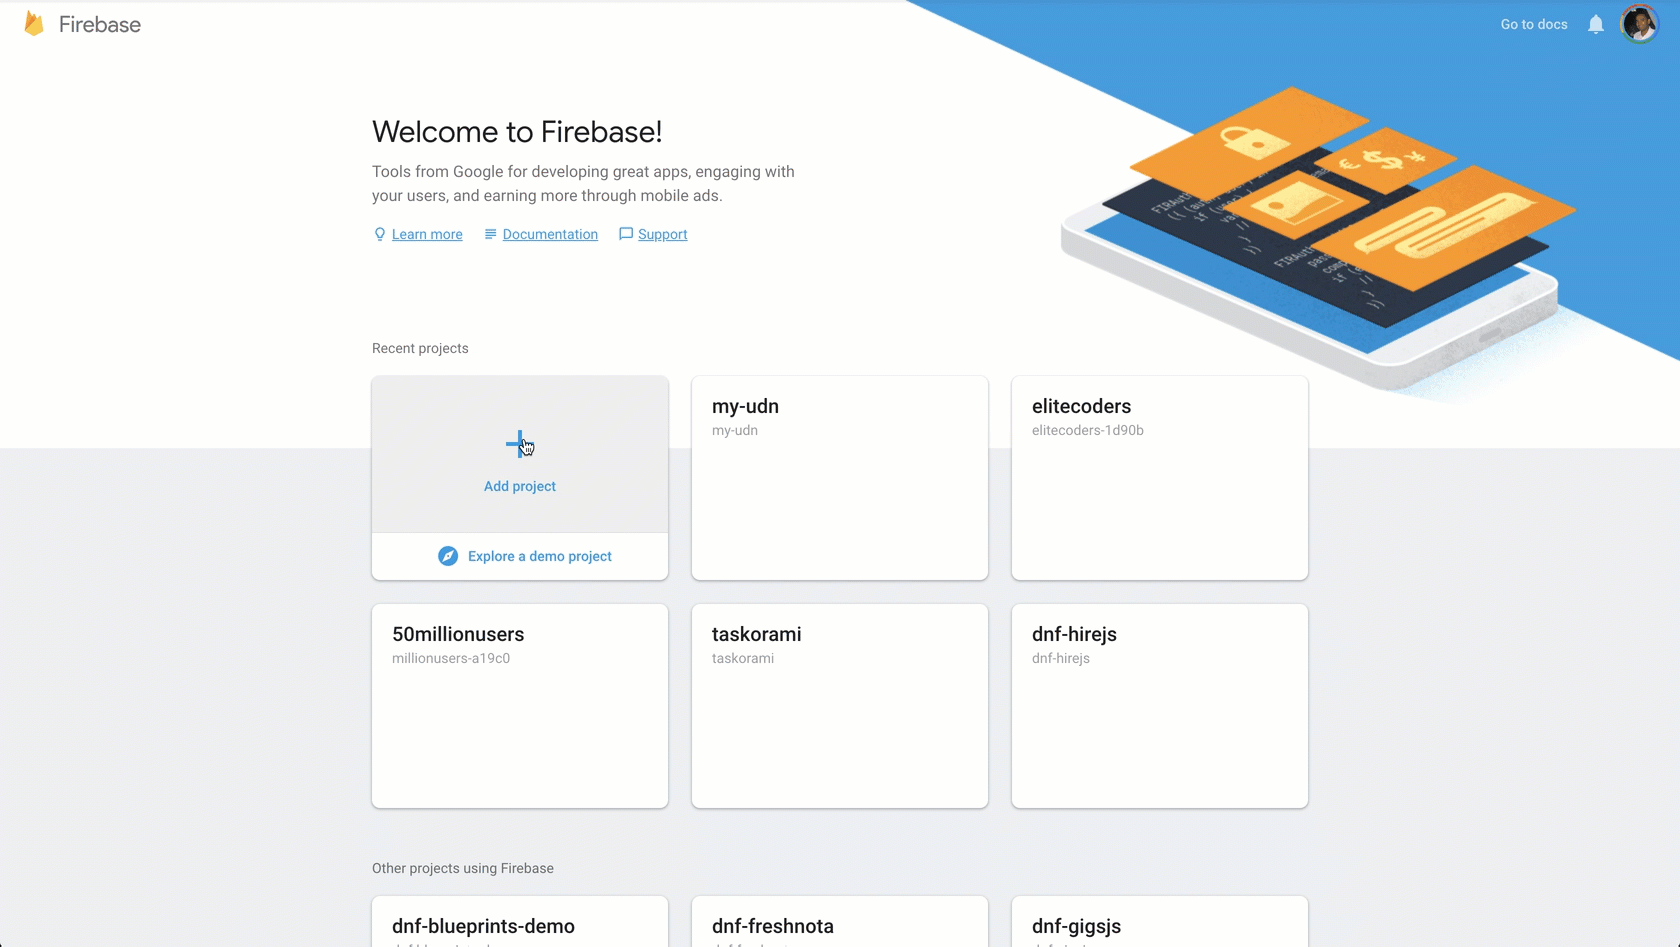
Go to your firebase console and create a new app
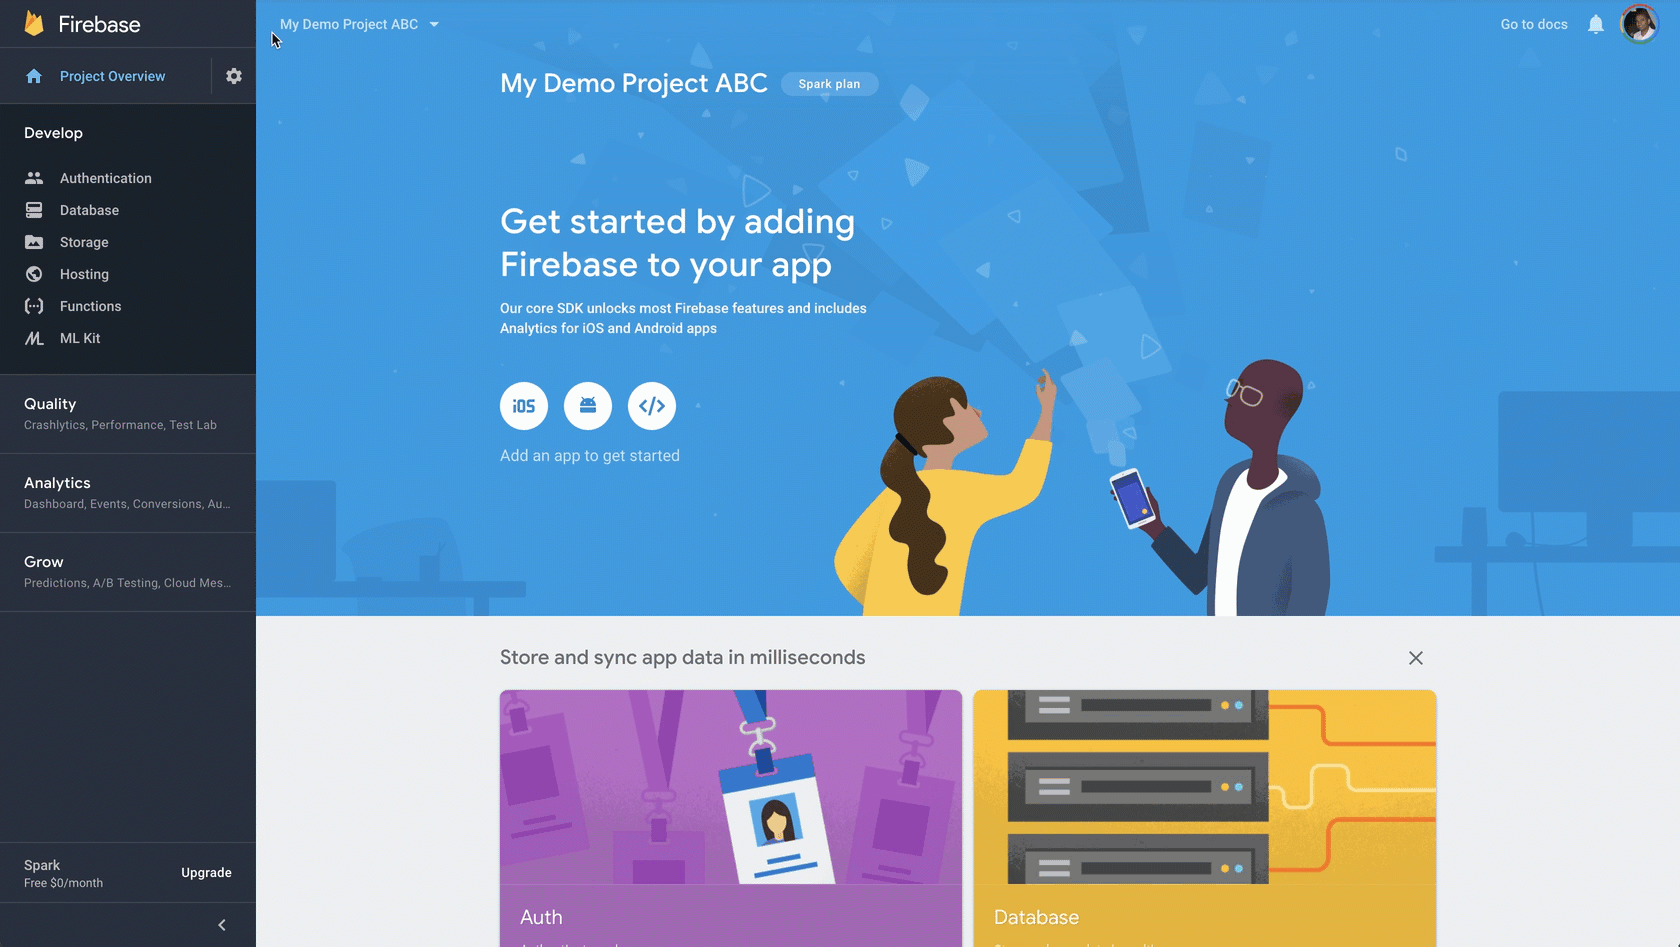
Create a Firebase database
Make sure you change the rules to enable read/write for testing purposes. Learn more about Firebase rules.
Create an Ember app
Install ember globally
npm install -g ember-cliCreate a new app
ember new my-demo-appInstall ember add-on into your app to enable firebase integration
cd my-demo-app

ember install emberfire
I ran into an issue (can’t remember what) but installing this add-on fixed it
ember install ember-cli-shimsConfigure EmberFire
Get firebase credentials and add them to your ember app.

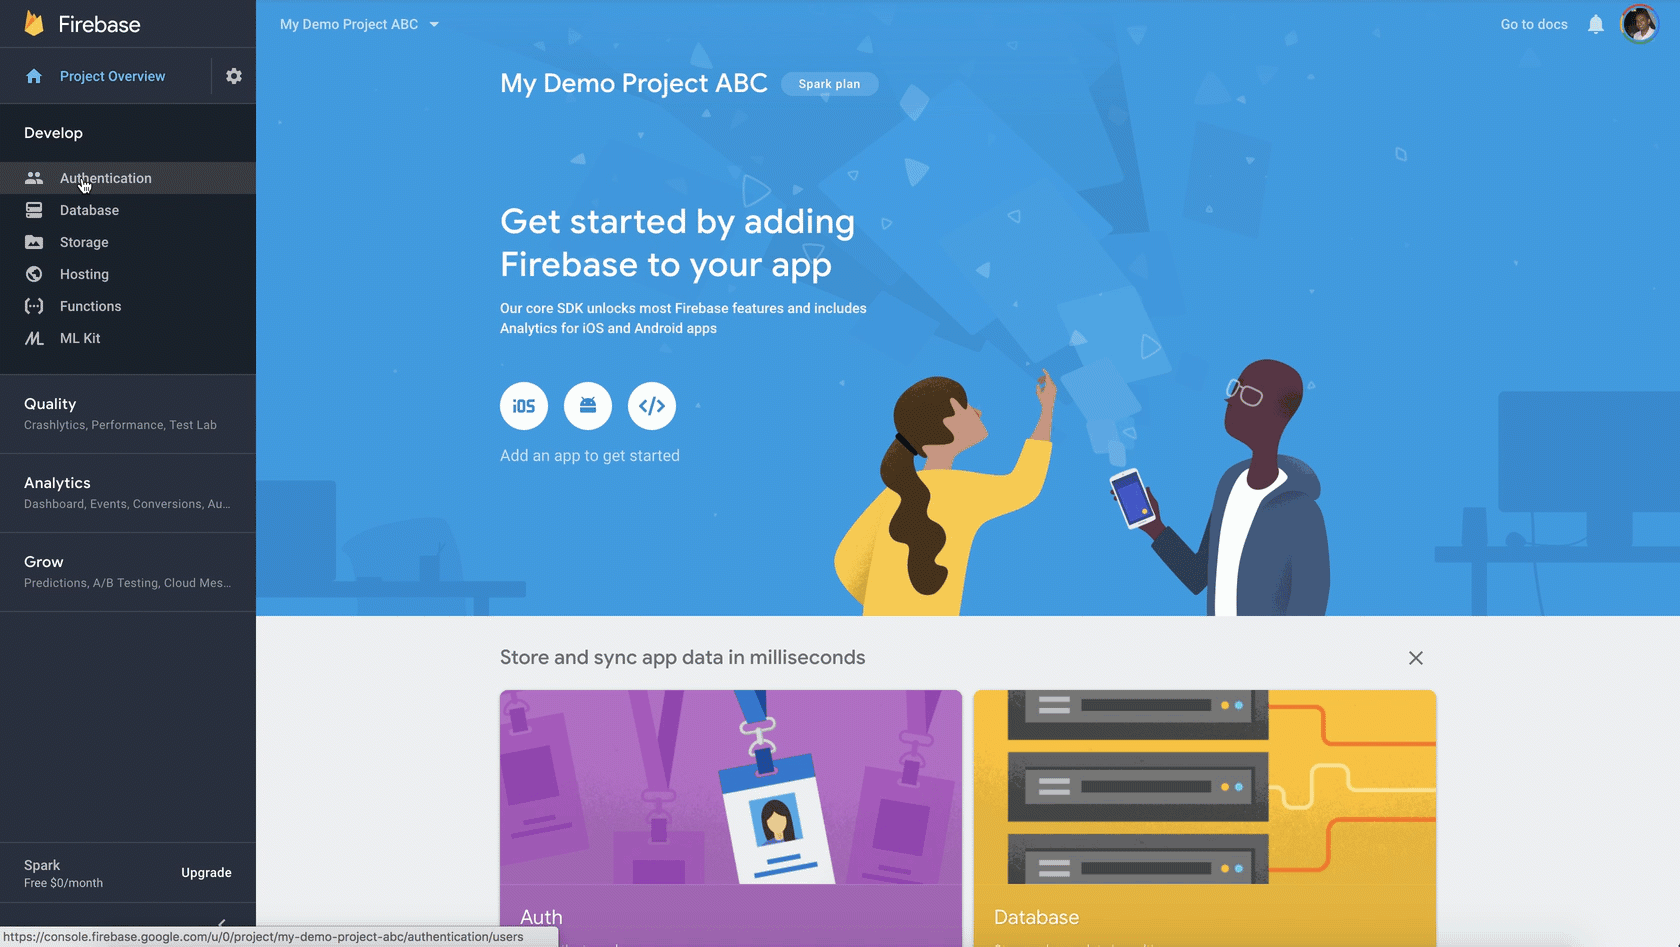
Enable authentication in Firebase
I hate writing authentication code. This is the fastest I have ever added authentication to an application. We will add Google login but firebase supports several OAuth providers including github, twitter, etc…
Add authentication to Emeber
Install Torii
ember install toriiAdd this to config/environment.js
torii: {
sessionServiceName: ‘session’
}
Create a file named app/torii-adapters/application.js with the following code:
import ToriiFirebaseAdapter from ‘emberfire/torii-adapters/firebase’;
export default ToriiFirebaseAdapter.extend({
});
Add login and logout functions in the application route app/routes/application.js :
import Ember from 'ember';
export default Ember.Route.extend({
  session: Ember.inject.service(),
  beforeModel: function() {
    return this.get('session').fetch().catch(function() {});
  },
  actions: {
    signIn: function(provider) {
      this.get('session').open('firebase', { provider: provider}).then(function(data) {
        console.log(data.currentUser);
      });
    },
    signOut: function() {
      this.get('session').close();
    }
  }
});
Now add a login/logout button to your application template to test this out. In app/templates/application.hbs
{{#if session.isAuthenticated}}
  Logged in as {{session.currentUser.displayName}}
  <button>Sign out</button>
  {{outlet}}
{{else}}
  <button>Sign in with Google</button>
{{/if}}
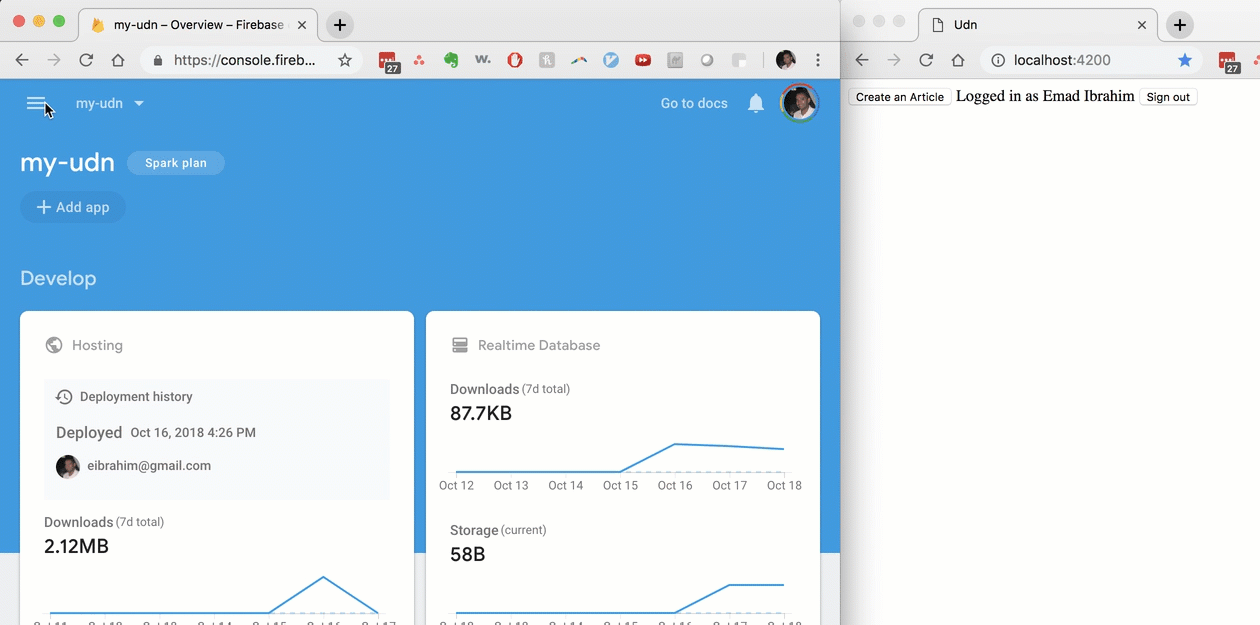
THAT IS IT!!! You can log in to your app with Google…

Create data
Let’s create some data in our firebase database.
Create an ember model
ember g model article title:stringThen simply save the model as you usually do with any ember app and it magically appears in the database…
var article= this.store.createRecord('article',{
        title : 'Hello this is my title'
      });
article.save();
Go look in your firebase console and you will see your data in there.
Deploy
Firebase provides hosting as well and it is dead simple.
Install the firebase tools cli
npm install -g firebase-toolsBuild your ember app
ember buildInit firebase and follow the prompts (more info here and here)
firebase initDeploy
firebase deployTip: you can open your app url from the terminal by running firebase open.
Originally published on medium.com